Posted on

Instructions for Susan Bates “Peg-It”

If you have a Susan Bates Peg-It counter, but aren’t quite sure how to use it, then this post is for you. Below, I explain the different sections of the Peg-It and how they are used. I’ve also included photos for you visual learners out there!

How to use PEG-IT Sections

Rows:

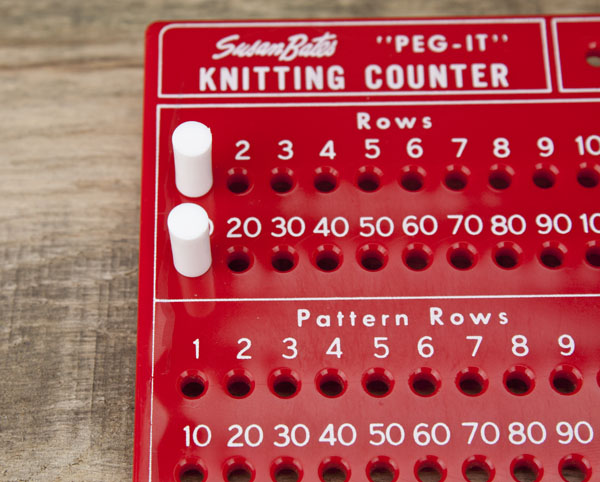
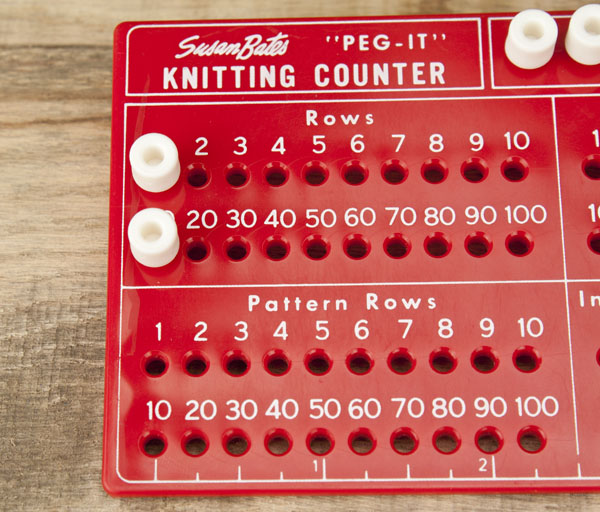
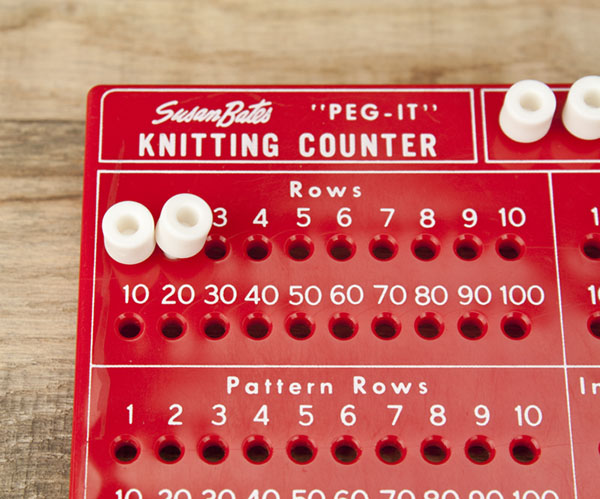
Use this section to count finished rows of knitting or crocheting. For example, if your instructions tell you to “k1,p1 for 8 rows”. Then, you should place a peg in hole #1 after the 1st row has been completed. As you finish a row, move the peg over 1 hole until all 8 rows are finished. To count more than 10 rows, you’ll need 2 pegs. The bottom row, numbered 10-100, records groups of 10. So if you’ve completed 34 rows, you’ll have one peg in the 4 and one peg in the 30.
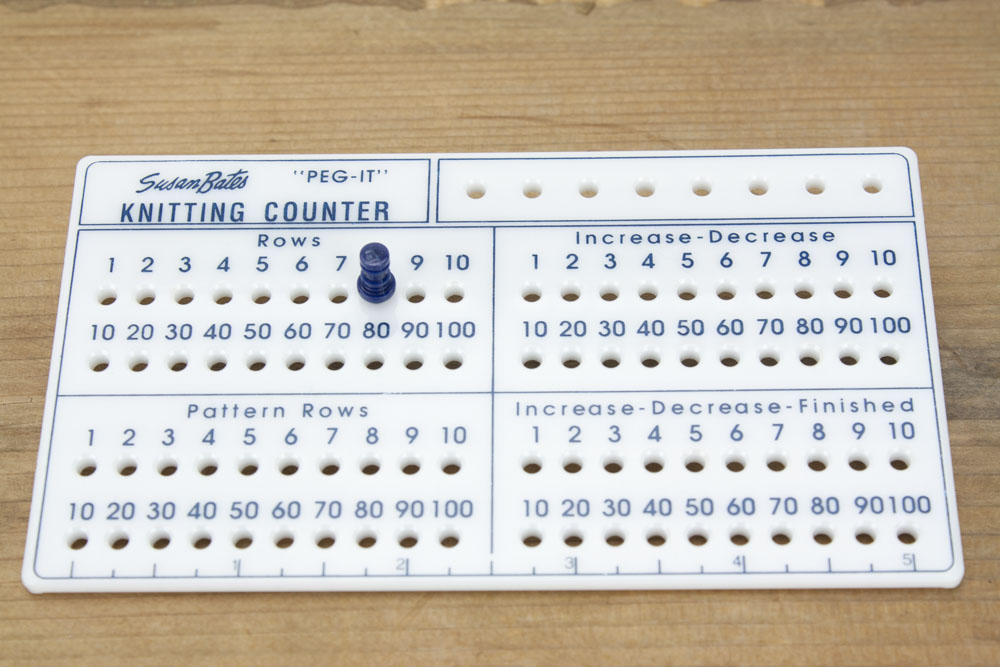
Place a peg in the hole corresponding to the row number you've just completed.
Place a peg in the hole corresponding to the row number you’ve just completed.

Pattern Rows:

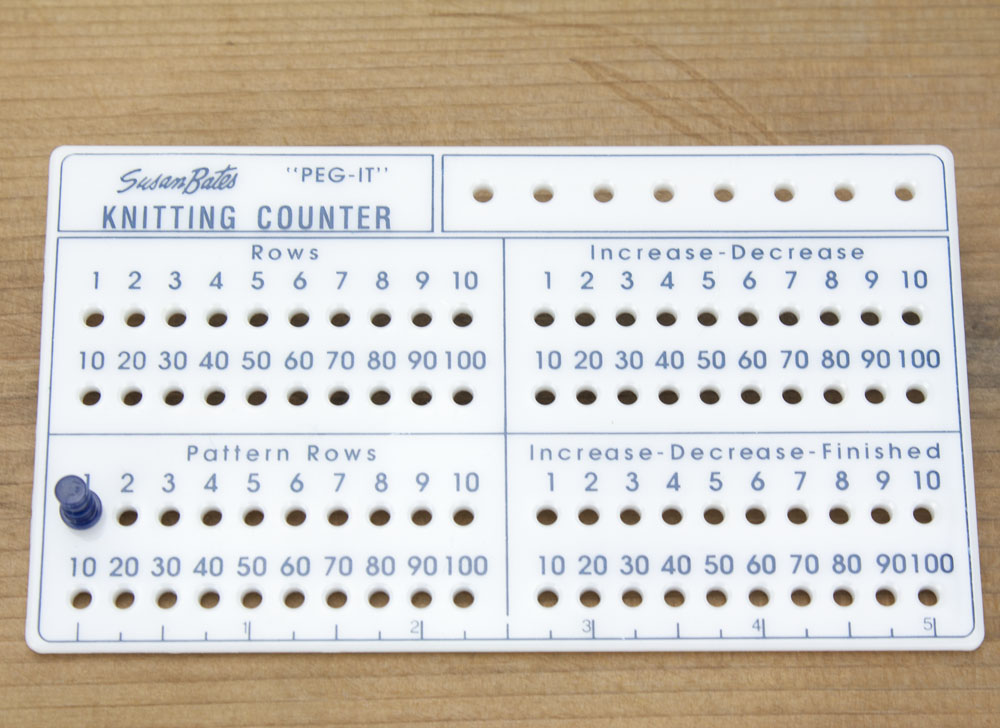
Use this section to record rows of a certain pattern. For example, say you are working a cable stitch that has 12 rows to the pattern, as each row of the “pattern” is completed, move a peg over one hole. When the 10th row is reached, 2 pegs are used until the 12 rows of the pattern are finished. When the 13th row is finished, (Row 1 of the “pattern” ) place the peg in hole #1 to begin counting the pattern rows again.
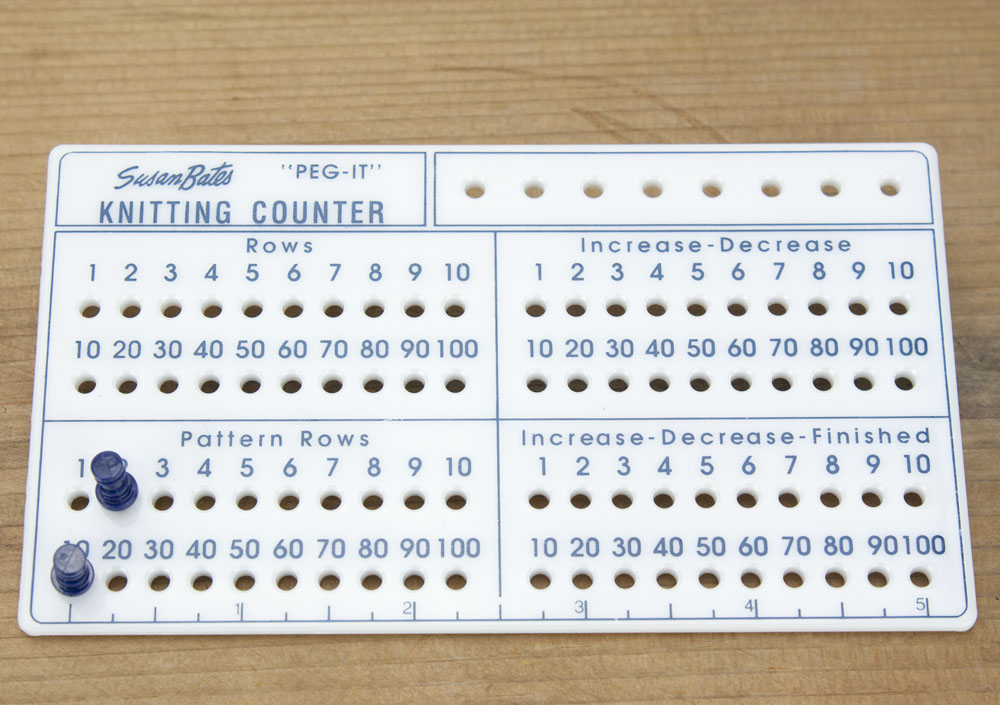
Counting pattern rows – 12 rows of the pattern finished.
Repeating the pattern - with the 1st row of the pattern repeated, peg is in hole #1 
to begin counting the pattern rows again.
Repeating the pattern – with the 1st row of the pattern repeated, peg is in hole #1
to begin counting the pattern rows again.

Increase – Decrease and Increase – Decrease – Finished:

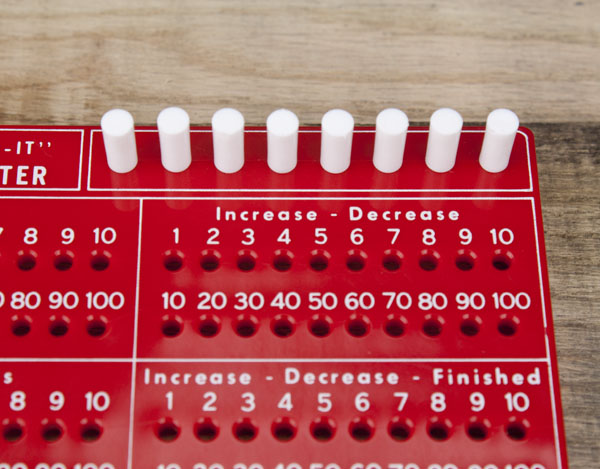
These sections are used to count either increased or decreased stitches. For example, your instructions may say “decrease 1 stitch every 8th row 6 times”. Place a peg in hole #1 of the Increase – Decrease section after the 1st row of the 1st group of 8 rows is finished. Continue moving this peg over one hole as each new row is finished. When the 8th row is completed, place a peg in hole #1 of the Increase – Decrease – Finished section. As each group of 8 rows is completed move the Increase – Decrease – Finished peg over one hole until the 6 decreases have been completed.
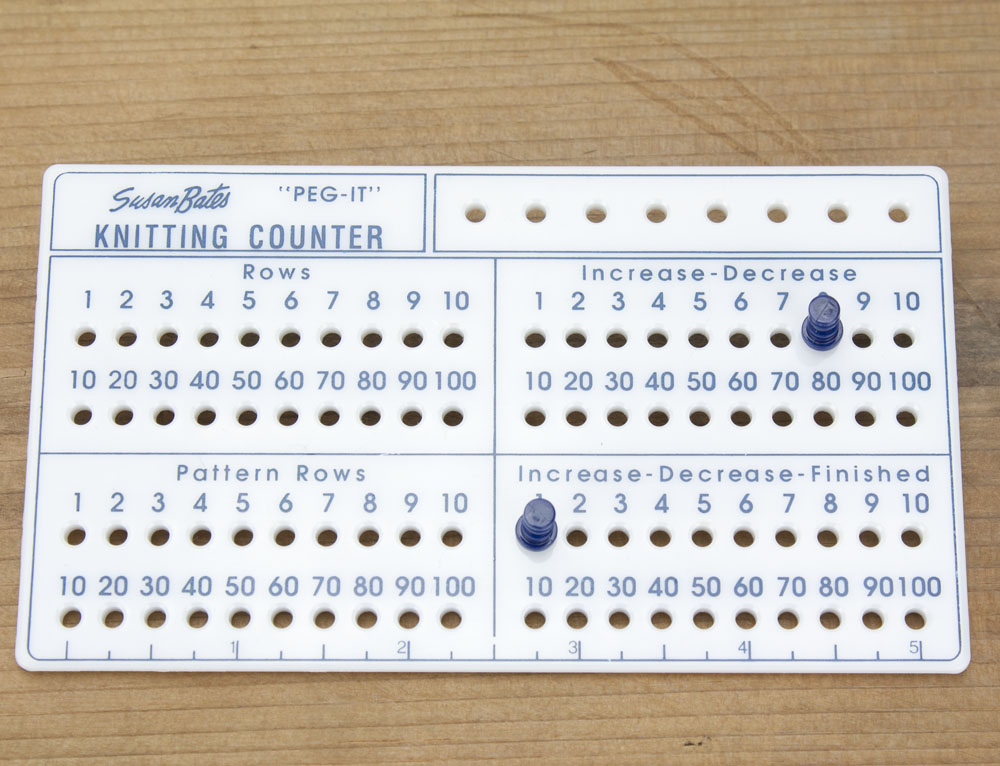
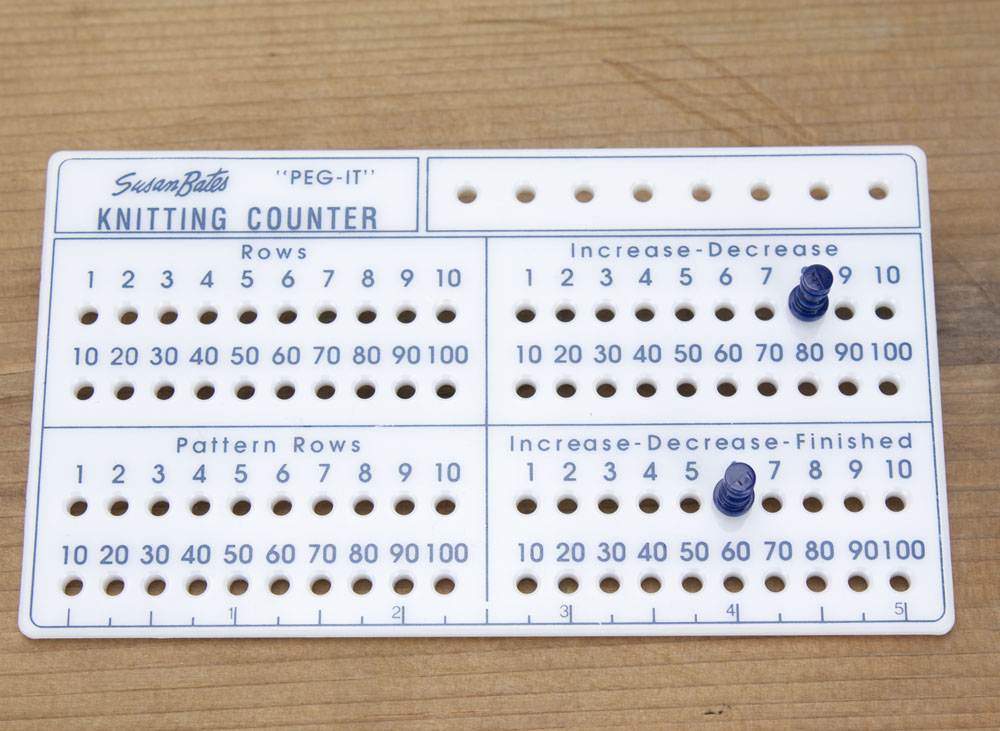
Decreasing 1 stitch every 8th row 6 times - 8th row complete.
Decreasing 1 stitch every 8th row 6 times – 8th row complete.
Decreasing finished.

I hope these instructions were helpful to you! You may also be interested in my post about replacement pegs for the Peg It.
Posted on

Replacement Pegs for Susan Bates “Peg It”

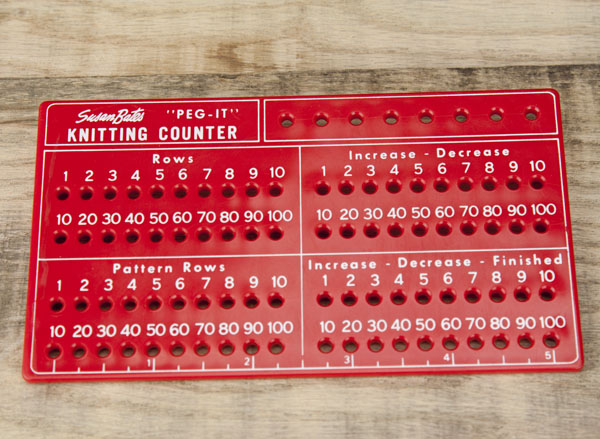
Susan Bates Peg It Knitting Counter Board

If you have your old Susan Bates Peg-It, but have lost some or all of your pegs, don’t despair! I discovered a substitute for those pegs, that you may have stashed away in your home right now.

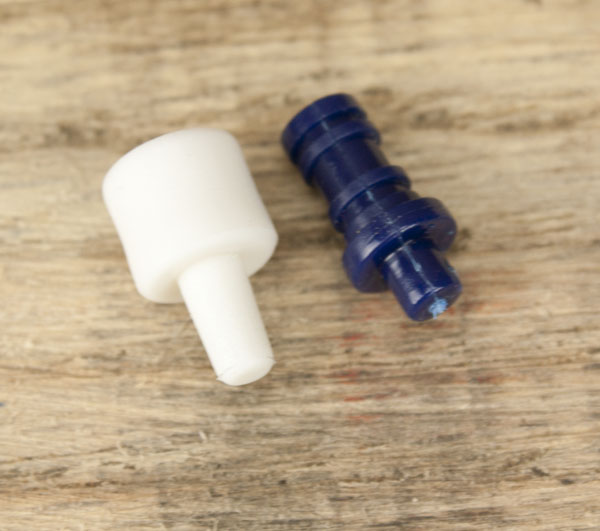
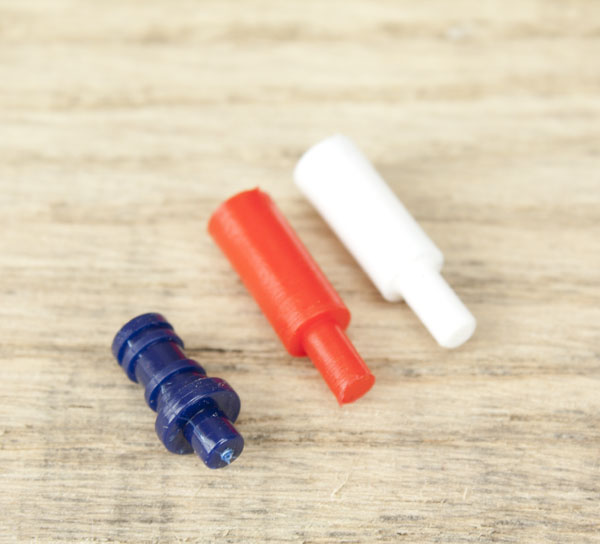
The blue peg below is the original peg that came with my Susan Bates Peg It knitting counter. The white & red pegs came from an old Battleship board game, not the electronic version (I’ll get to that later).

Blue peg from Susan Bates Pet It with replacement peg alternatives.
Blue peg from Susan Bates “Peg-It”. Red and white pegs from Milton Bradley’s Battleship board game.

The pegs fit nicely in the “storage row”.

Susan Bates "Peg-It" Knitting Counter
“Peg It” with white pegs from Battleship board game.

And they fit in the counting areas without any trouble.

Susan Bates "Peg-It" Knitting Counter

I actually like the Battleship pegs better than the originals because they are easier to push into the board, and remove. They hold in place well. Even, when I turned the board upside down and gave it a little shake, the pegs did not fall out. However, I would not throw it into your knitting bag & travel around, they are likely to come loose.

Since the Battleship board game pegs worked so well, I thought I’d give Electronic Battleship pegs a go. Below, is the blue peg from my Peg-It & the white peg is from Electronic Battleship

Blue peg from Susan Bates "Peg-It" Knitting Counter and white peg game piece.
White peg from Milton Bradley’s Talking Electronic Battleship. Blue peg from Susan Bates’ Peg-It.

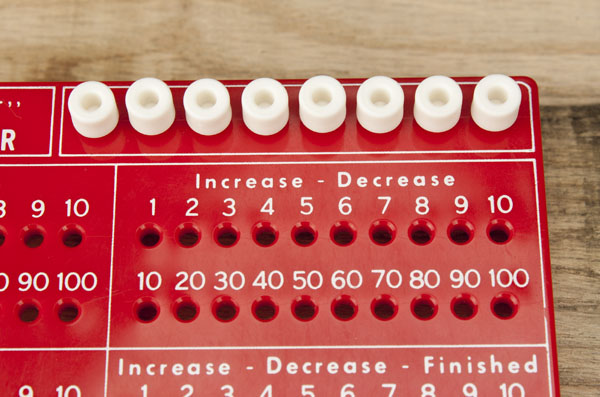
The pegs from Electronic Battleship fit nicely side-by-side in the holding area. And, they work just as well underneath one another. They won’t fit side-by-side, but since you would never need to do that, it’s really not an issue. These pegs have a snugger fit, so they stay put very well when the board is “tossed” around. They are also easy to insert and remove from the board.

Susan Bates Peg It knitting counter with replacement pegs
Knitting counter with Electronic Battleship game pegs.
Susan Bates Peg It knitting counter with replacement pegs

I hope this post helps you put your old Peg It back into commission. If you don’t have this game in your closet, your local thrift store is a great place to find it. You could also try flea markets and yard sales.

Posted on

Craft Tutorial – Rug Yarn Tree Ornaments

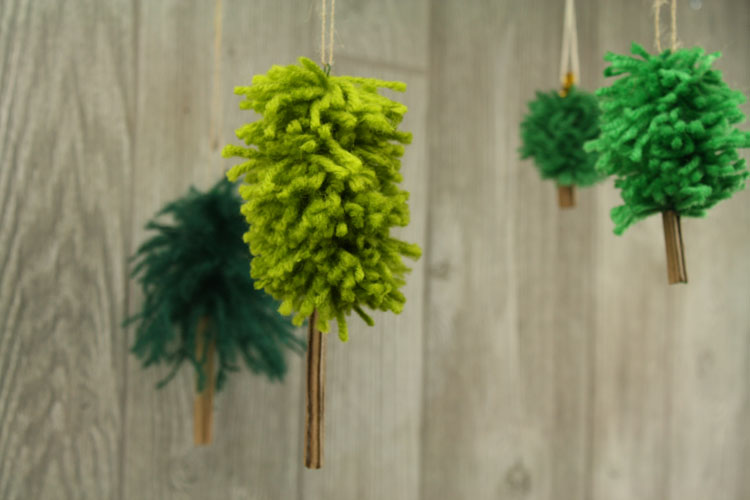
These darling little trees are very easy to make & are made very quickly with precut rug yarn.

Yarn Tree Ornaments


Materials:

  • Pre Cut Rug Yarn
  • Wire
  • Corrugated Cardboard
  • Glue


Rug Yarn Tree Tutorial Steps 1 - 3


Instructions:

  1. Fold a length of wire in half. I am using 20 gauge, 18” wire. Pipe cleaners also work well for this. Lay your precut yarn inside the folded wire, doing your best to center the strips. I am using a packet of Chartreuse Caron Rug Yarn.
  2. Pinch the wire together at the fold & leave a small loop so you can insert wire or thread later for hanging. At the other end, twist the 2 ends of wire together.
  3. Hold the top of tree in one hand & the bottom in the other. Now twist!
  4. Now it’s time to make your trunk. Roll the cardboard into a tube leaving a hole large enough for the wire to slip into. Secure with glue (hot glue works best here).
  5. Put some glue inside your tube.
  6. Slide tube over wire.


Rug Yarn Tree Tutorial Steps 4 - 6


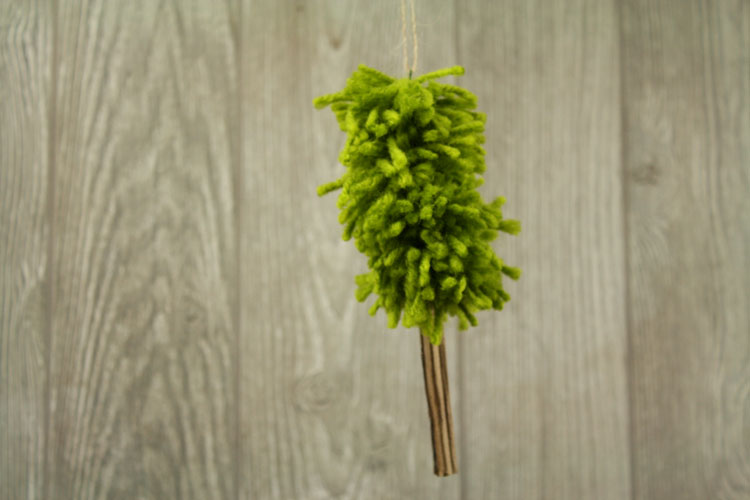
Just add some pretty string & hang!

Chartreuse Caron Rug Yarn Tree