If you have a Susan Bates Peg-It counter, but aren’t quite sure how to use it, then this post is for you. Below, I explain the different sections of the Peg-It and how they are used. I’ve also included photos for you visual learners out there!
How to use PEG-IT Sections
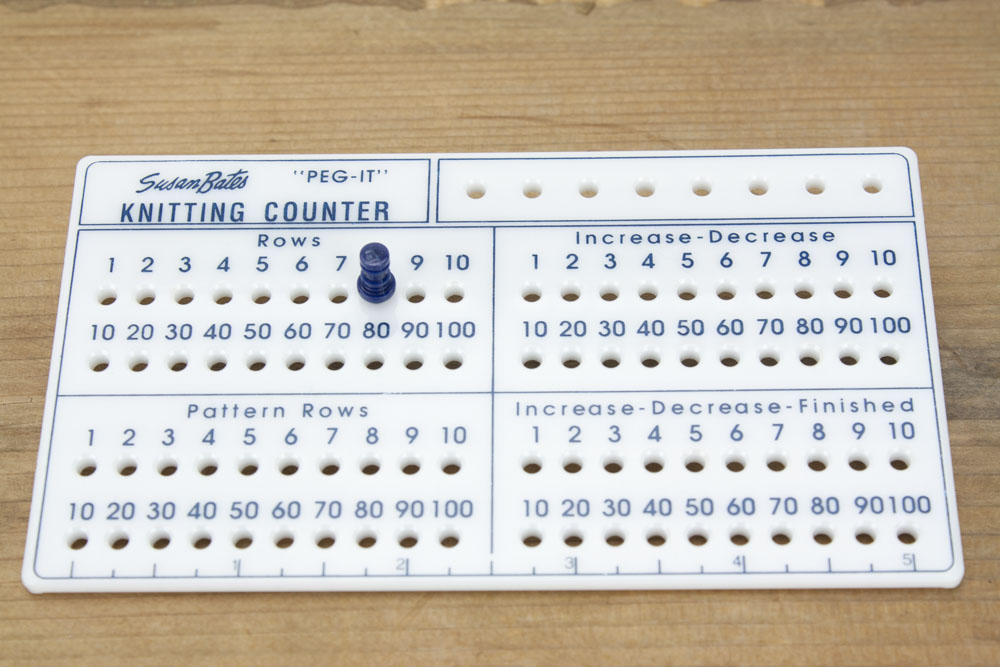
Rows:
Use this section to count finished rows of knitting or crocheting. For example, if your instructions tell you to “k1,p1 for 8 rows”. Then, you should place a peg in hole #1 after the 1st row has been completed. As you finish a row, move the peg over 1 hole until all 8 rows are finished. To count more than 10 rows, you’ll need 2 pegs. The bottom row, numbered 10-100, records groups of 10. So if you’ve completed 34 rows, you’ll have one peg in the 4 and one peg in the 30.
Pattern Rows:
Use this section to record rows of a certain pattern. For example, say you are working a cable stitch that has 12 rows to the pattern, as each row of the “pattern” is completed, move a peg over one hole. When the 10th row is reached, 2 pegs are used until the 12 rows of the pattern are finished. When the 13th row is finished, (Row 1 of the “pattern” ) place the peg in hole #1 to begin counting the pattern rows again.
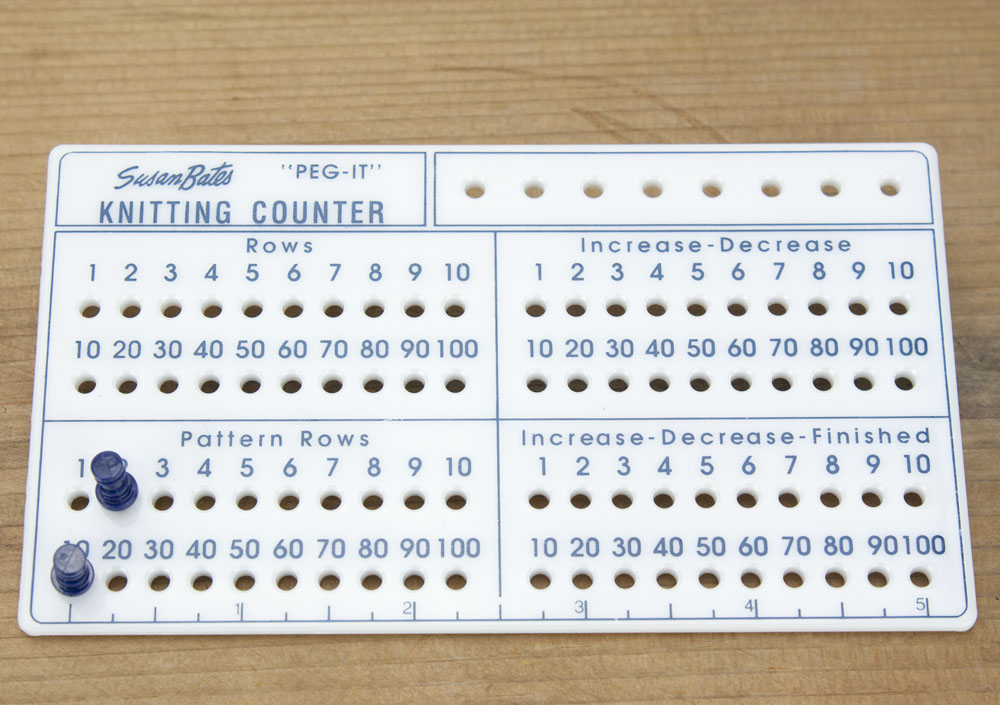
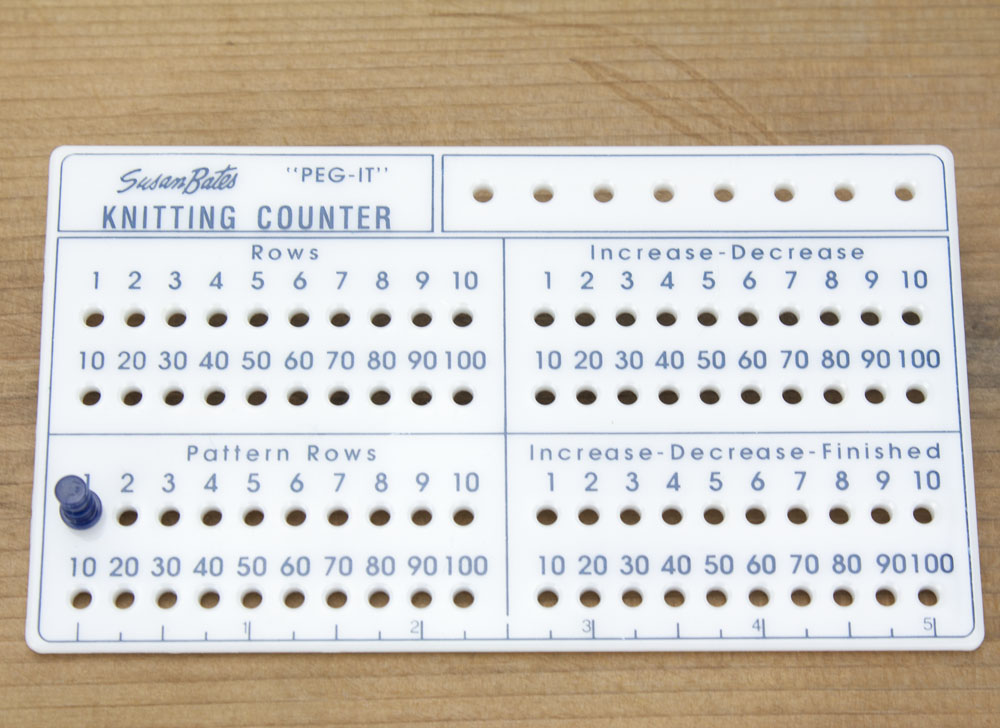
to begin counting the pattern rows again.
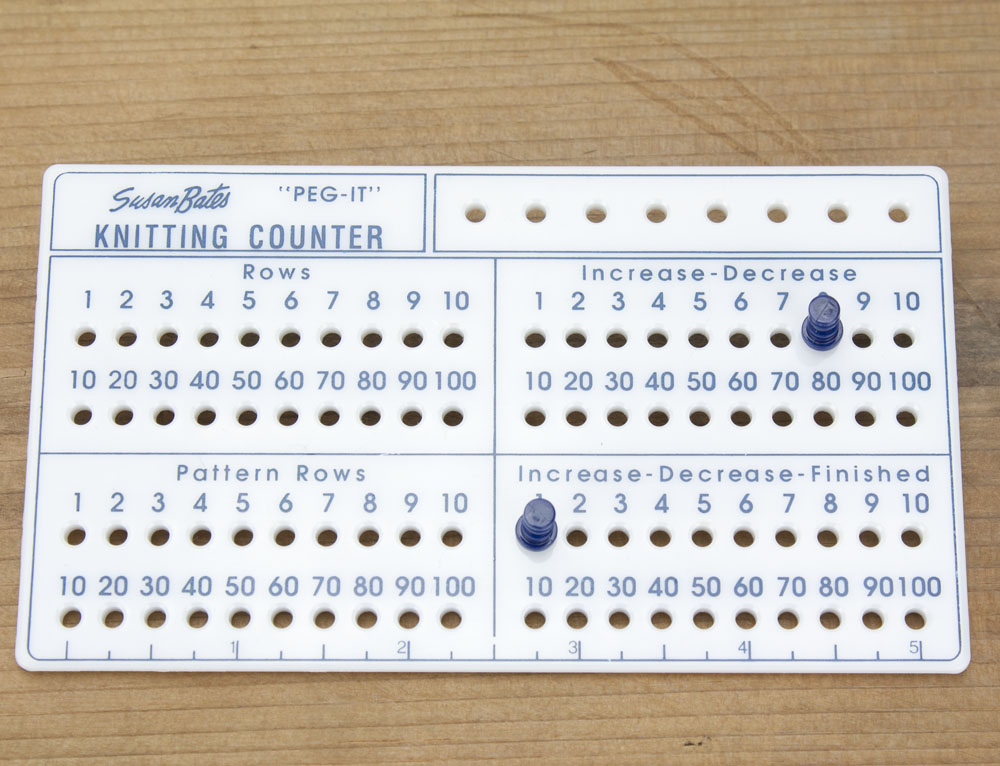
Increase – Decrease and Increase – Decrease – Finished:
These sections are used to count either increased or decreased stitches. For example, your instructions may say “decrease 1 stitch every 8th row 6 times”. Place a peg in hole #1 of the Increase – Decrease section after the 1st row of the 1st group of 8 rows is finished. Continue moving this peg over one hole as each new row is finished. When the 8th row is completed, place a peg in hole #1 of the Increase – Decrease – Finished section. As each group of 8 rows is completed move the Increase – Decrease – Finished peg over one hole until the 6 decreases have been completed.

I hope these instructions were helpful to you! You may also be interested in my post about replacement pegs for the Peg It.